Use this information to remove a compute node from a Flex System chassis.
Before you begin
- Read Safety and Installation guidelines.
- If the compute node is operating, shut down the operating system.
- Press the power button to turn off the compute node (see Turning off the compute node for more information).
Procedure
To remove the compute node from a chassis, complete the following steps:
-
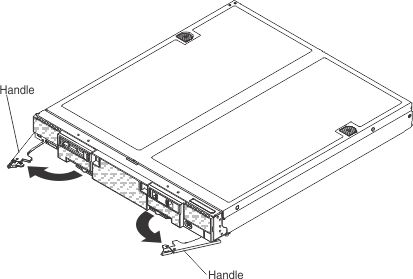
Open the front handles as shown in the illustration. The
compute node moves out of the node bay approximately 0.6 cm (0.25
inch).
 Attention:
- To maintain proper system cooling, do not operate the Flex System chassis without a compute node or node bay filler installed in each node bay.
- When you remove the compute node, note the node bay number. Reinstalling a compute node into a different node bay from the one it was removed from can have unintended consequences. Some configuration information and update options are established according to node bay number. If you reinstall the compute node into a different node bay, you might have to reconfigure the compute node.
What to do next
If you are instructed to return the compute node, follow all packaging instructions, and use any packaging materials for shipping that are supplied to you.